It's been a long week. I allowed myself a couple of beers when got to the second coat.
Yes, with a few more days and a few less people in the house, it was time to get this done. If you are thinking of giving this a go, the one thing I would say is try to do it with an empty room, not working around family life, as I had to! However, it got done in the end and the final result is just good enough to make me forget the sore knees and aching back!
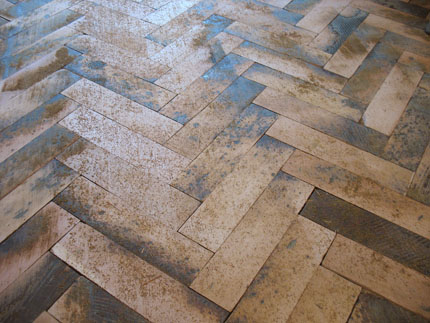
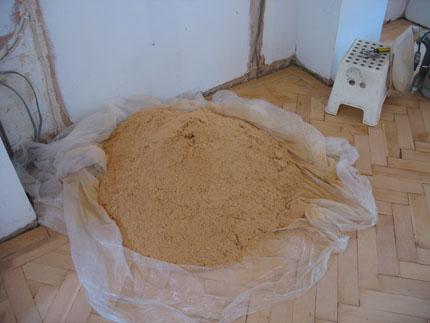
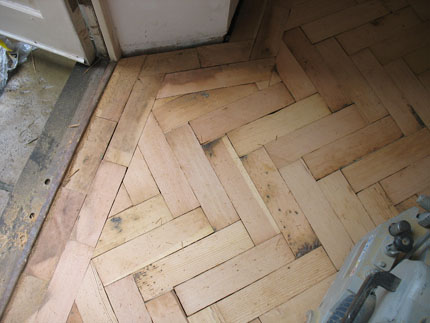
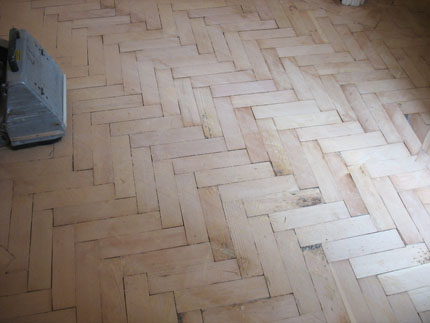
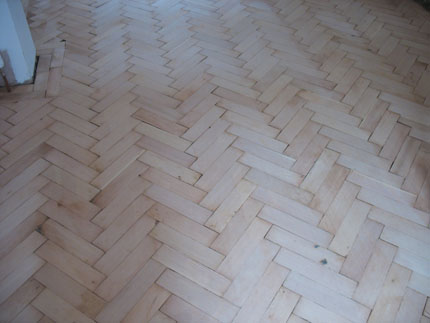
Time to get on with it. I’ll wait until 8 a.m before I wake the neighbours with this bad boy. The sander is from a specialised hire company, you change the grits on the sanding belt to take the layers off and get the floor smooth. Starting with 25 grit here, as the floor needs to be evened out. Basically in ‘ripping mode’ here, with raised blocks being levelled to the rest. Go through the grits, 25, to 40, then by 60 you’re smoothing things out nicely. Yes, it does take a while, but it’s worth doing properly. My one tip? Spend longer with the coarser grits, because the finer ones will never take out undulations. Get the floor nice and flat, then go down through the scale. The finer grits will just remove the sander scratches. Anyone in Hackney need any sawdust? I’m not going to sand out all these marks. I quite like the imperfections, they give a bit of character. Into the hall and negotiating the narrow space with a large sanding machine is about as much fun as you might imagine. To get into the edges where the big sander won’t reach, you need an edger. This is a heavyweight orbital sander. Go through the grits at the same pace as the sander, i.e, main floor with 25 grit, then edging with 25 grit, and so on. An added function was the light, which is incredibly useful. The edger really pulls you to one side as it sands though, it’s rough on your back. Anyway, onward and upward. Sooner or later, you’ll have a flat floor with a relatively smooth surface. Love the colour variation in these blocks. The wood is Columbian Pine. A big vacuum up, then for the first coat of finish. The first coat sinks right into the wood. The dark colour will lighten back up again once dry. I went for a matt varnish, but will load up the layers as the kitchen has a few high-traffic areas. The first coat had made the sliced fibres stand up a little on the blocks, so the feel was a little rough. I wanted to give them a light sanding, but couldn’t bear more time on my knees! Well, if it works?! The mop with sanding sheets on might look daft, but it worked really well. The 120 grit took off all the roughness and I was ready for a second coat. It’s been a long week. I allowed myself a couple of beers when got to the second coat. The colour is building up beautifully and the blocks have a rich, honey colour, which is exactly what we wanted. Really pleased with this floor. One more coat and it will be finished. I got my wood blocks from a company online called Parquet Parquet and the floor sander hire was from Floor Sander Hire UK on Lea Bridge Road, Hackney.


2 replies on “Laying a parquet floor (Finally done!)”
great stuff and a great read following your progress,
best of luck with the varnishing application.
now for your next project 🙂
Looks great! This has definitely given me the confidence to have a go at parquet myself.