Categories
Festool

Tooling up with Festool

It’s nice to have a moment to write a blog post, it’s been way too long.
I won’t bore you with the details, but the house renovation I’ve been working on has taken much longer than I thought it would, mainly because I get there only for one or two days in the week.
I’m finally onto some joinery however, having finished with all the ‘wet trades’ long ago. The electrician had a final visit last week and from this Monday, the plumbing will all be done with too.
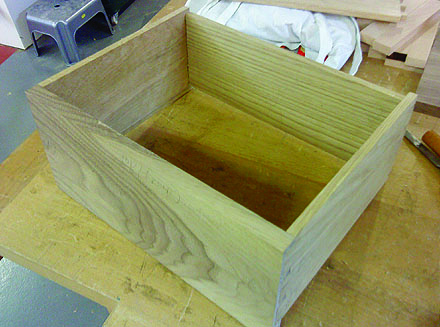
I’ve turned my attention to some Shaker-style doors I’ve been meaning to make for a long while for the bedroom cupboards.
As I’m trying to finish as fast as I can now, I figured I may as well invest in some Festool power tools. I bought the TS55 track saw from a friend a while back and this week added a Domino DF500.
If you don’t know the Domino, it’s a nice tool for cutting mortises which Festool’s own ‘Dominos’ fit into. It’s basically a fast way of making a loose tenon. The machine works very well and I had the doors made in no time.
Festool Domino 1
Festool Domino 2
Festool Domino x
Festool Domino 3
Festool Domino 4
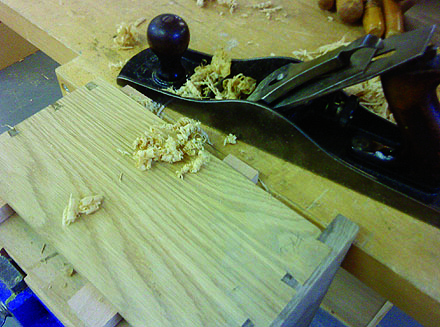
If I did have a problem, it’s with the saw. The TS55 seems to be holding back by 1-2 degrees when it should be full open at 90 degrees. It’s annoying as it means when you crosscut for a Domino joint, the joint has a tiny gap when you Domino it. Then when you join and glue, the pressure from your clamps pushes the joint out of shape.
Festool TS55 problem
If anyone has details about how I can fix this saw issue, can you please let me know?
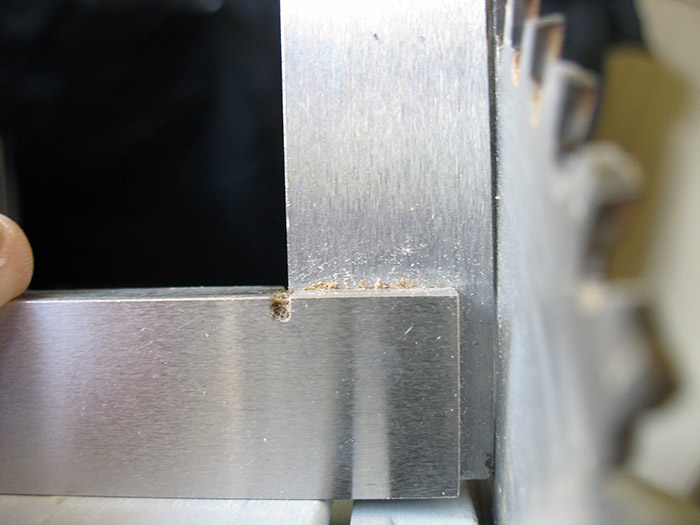
I have already fiddled with the two silver adjustment screws, and I thought I had pulled the base plate in enough to make it perpendicular to the blade. But when I used the saw again today, same problem, the cuts weren’t straight.
The pic below is how the blade looks when the saw is fully open. (I can’t hear a click or anything else to suggest I should move the saw back a degree or so, for me, it’s useless if it doesn’t click to exactly 90 degrees.

Categories
College Festool Practical techniques

College course: The Final Day

All too soon, here I am. The final day of my short course at John Cass. Lots to do today, and I have to finish this cabinet, what with having nowhere to work at home. Onward.

Well, after making a total hash of the back of this drawer last week, I rapidly made another one. Thankfully, it all fitted and here's the drawer being glued-up. You can see the bottom of the front of the drawer drops down below the base. This is because, on closing, I want the drawer to cover the bottom-front rail of the cabinet.
Well, after making a total hash of the back of this drawer last week, I rapidly made another one. Thankfully, it all fitted and here’s the drawer being glued-up. You can see the bottom of the front of the drawer drops down below the base. This is because, on closing, I want the drawer to cover the bottom-front rail of the cabinet.

And so, we have a drawer! I checked the drawer for squareness, using a rule across the diagonals, and they measure the same. Things should be square and the drawer should fit. The rear of the cabinet has it's top rounded over, the traditional way to finish this. I'm still not sure why this is. By the way, the rear and sides of the drawer are oak, which is nice and strong in these relatively thin pieces and it gives a nice contrast to the dark walnut on the lapped dovetail joints at the front.
And so, we have a drawer! I checked the drawer for squareness, using a rule across the diagonals, and they measure the same. Things should be square and the drawer should fit. The rear of the cabinet has it’s top rounded over, the traditional way to finish this. I’m still not sure why this is. By the way, the rear and sides of the drawer are oak, which is nice and strong in these relatively thin pieces and it gives a nice contrast to the dark walnut on the lapped dovetail joints at the front.

I offered the drawer up to the cabinet and it needs a little off the sides to go in. This is a good thing. It allows me to try to get a really good fit, and I can clean up the faces of my joints at the same time. Here I'm taking fine shavings off each side, whilst checking the fit again and again.
I offered the drawer up to the cabinet and it needs a little off the sides to go in. This is a good thing. It allows me to try to get a really good fit, and I can clean up the faces of my joints at the same time. Here I’m taking fine shavings off each side, whilst checking the fit again and again.

Time out from the drawer for a while, and we drilled a slot in each side of the cabinet inner, with a Festool Domino. Later on I'll fit 'buttons' in these slots to allow joining the cabinet top. More on this later.
Time out from the drawer for a while, and we drilled a slot in each side of the cabinet inner, with a Festool Domino. Later on I’ll fit ‘buttons’ in these slots to allow joining the cabinet top. More on this later.

The final cabinet. The drawer runs smoothly, (which was my main concern), and the whole cabinet should look nice once all the surfaces have the oiled finish that's currently only here and there. I'll post a final set of pics once I have that done. Phew! Tools in the rucksack and exit stage left.
The final cabinet. The drawer runs smoothly, (which was my main concern), and the whole cabinet should look nice once all the surfaces have the oiled finish that’s currently only here and there. I’ll post a final set of pics once I have that done. Phew! Tools in the rucksack and exit stage left.